That said, while there were lots of English influences when I was growing up (Allo Allo, The Brittas Empire and Mind Your Language anyone?), there was more of a Yankee invasion towards my teens. The proliferation of American culture is evident - even our DJs speak with American accents.
That said, in spite of this, I've never had one of the most American desserts... cherry pie... until I came to Perth!
I must say, it was a long awaited meeting. I still remember looking at graphics of it on Print Shop Deluxe and wondering how it would taste Bear in mind that Singapore didn't really get cherries fresh in the supermarket when I was in my teens. The only cherries people tasted were the maraschinos on the top of their Swensens sundaes, the pathetic faded stuff in fruit cocktails and supposedly cherry-flavoured cough medicine. The first time I had fresh cherries was during a cherry picking session in Young, New South Wales - I probably ate more than I put in my bucket!
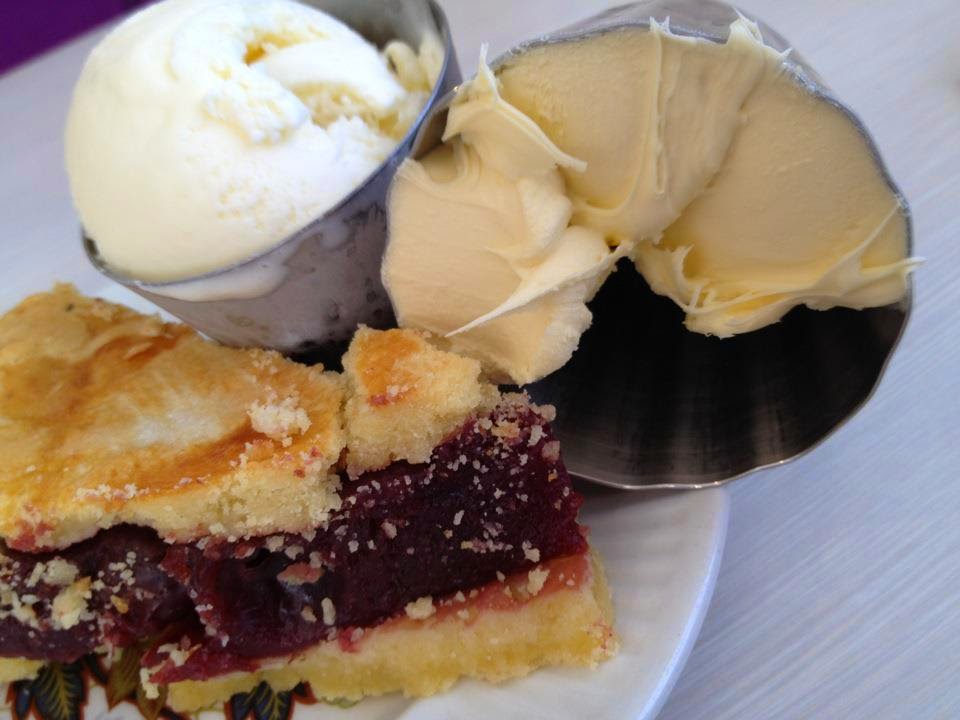
ANYWAY. When I tried that pie, served with ice cream and double cream, at Toast... I fell in love. Toast was (and still is) one of my favourite places in Perth for breakfast partly because of their amazing breakfasts. I always have trouble picking what I want (polenta toast and corn fritters are usually the main contenders) and after having this pie, I was faced then with the additional unfortunate task of trying to figure out whether to get cherry pie or not after my main meal.
Lately, what with saving for our trip, Ant and I haven't been to Toast much. Consequently, I've not had cherry pie for the longest time. Which is completely unacceptable.
So I decided to do some research and make my own cherry pie!
This pie is more sour than the Toast cherry pie (from what I remember), which makes it a perfect foil to super indulgent double cream and vanilla ice cream. Additionally, this pie has a higher ratio of fruit to "curdy jam" as I like to call it. Aside from the lattice work, this pie really is quite simple to make... which probably explains why I've made it twice in about 3 weeks!!
Cherry Pie(Originally from Epicurious, recipe reworded for metric measurements and chronological clarity)
Crust
2 and a half cups of plain flour
1 tablespoon sugar
3/4 teaspoon salt
226g of butter, straight from the fridge (see notes)
5 tablespoons or more of ice water
Filling
1 cup sugar
3 tablespoons cornflour
1/4 teaspoon salt
5 cups whole cherries (traditionally sour is used but sweet works too)
Lemon juice: 1 teaspoon if you're using sour cherries, 3 tablespoons if you're using dark, sweet cherries
1/2 teaspoon vanilla extract
Additional ingredients
1 tablespoon sugar
2 tablespoons of unsalted butter
1 table spoon of milk
Method
- Make the crust.
- Mix flour, sugar and salt well in a large bowl.
- Grate butter into the bowl, working quickly and letting as little of your hands touch the butter as possible.
- Rub the butter into the flour using your fingertips until breadcrumbs form.
- Add 5 tablespoons of icy cold water, mixing with a knife until the dough comes together. You might need to add a bit more water as different flours may have different absorption rates.
- Divide the dough into 2 pieces. Form a ball with each piece, wrap in clingfilm and refrigerate for at least 30 minutes.
- Preheat your oven to 220 degrees Celsius (200ish if you're using fan-forced) and position the baking rack to the lower third portion of the oven.
- In a large bowl, mix sugar, cornflour and salt in a medium bowl.
- Stir in cherries, lemon juice and vanilla. Set aside, occasionally (carefully) stirring the cherries to make sure the mix is well blended.
- Remove dough from fridge after cooling time. Let dough soften before rolling out.
- Roll out your dough on a floured surface. If using a 9 inch pan, roll out to approximately 12 inches, to accommodated the wall of the pie tin.
- Place the dough in the pan, making sure you have a half-inch overhang.
- Roll out the second ball of dough so that it's similar in size to your first pie crust. Using a knife or fluted pastry wheel/pasta cutter, cut strips from the dough.
- Transfer filling into the pie crust, mounding in the centre. Dot with butter.
- Use the cut dough strips to form a lattice over the filling.
- Fold overhang over the lattice around the edge of the pie and crimp to seal. You may also flute the edges if you're so inclined.
- Brush the lattice (not the edges) with milk and sprinkle with sugar.
- Place pie pan on a baking tray (or ensure you have a baking tray under your pan in the oven) and bake for 15 minutes.
- Reduce oven to 190 degrees Celsius (170ish fan-forced) and bake pie until the crust is golden brown and the filling is bubbling. This will take about an hour.
- Remove pie from oven and allow to cool completely before serving.
- Best eaten the next day, when the cherry filling is nicely set
- I used frozen cherries for this recipe - probably works better than canned because it's firmer. It's also cheaper as well.
- Frozberries in Malaga do have sour cherries - little miss bimbo just forgot to pick some up while she was there so she used normal cherries.
- With regards to oven temperatures - please use these temperatures as a rough guide. Generally, if using a fan-forced oven, you need to reduce the temperature by 20 degrees. My oven, however, seems to be super hot so I usually reduce mine by 50 - 60 degrees. Know your oven!
- If the pie crust is browning too quickly, cover the edges with a foil collar.
- I found this really easy way to make a lattice pie crust. It definitely cut down on my time AND I had a prettier looking lattice.

Lattice 1 - prior to researching methods

Lattice 2 - same pan but more packed lattice. Still need to work on a tighter weave for the lattice and a nice outer crust.
No comments:
Post a Comment
Thanks for taking the time to comment on my little corner of the blogosphere. I will endeavour to reply each and every comment :)